Build a custom image that supports USB 3.0 to Ethernet Adapters (VMKUSB-NIC-FLING),
but can be a guide for other ESXi VIB’s or Components udate or install as well.
To support USB NIC’s you must create a custom image using VMware ImageBuilder. This same process is used for new installations and updates.
For new installations you will create an ISO image and for updates you will create a ZIP image.
Login if you already have a account or create one.
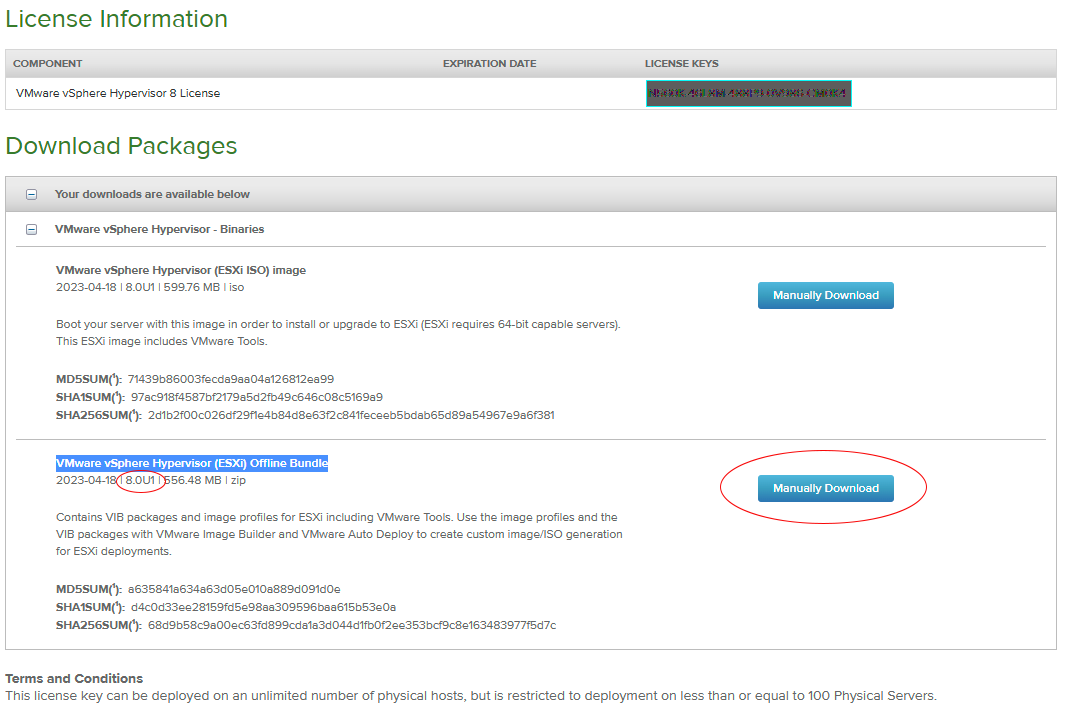
Example of ESXi 8 License and Download page.
Your License Key and download information can be found here
Once you are assigned a license it never changes for ESXi 8.x, so you can always use this link to find your license key.
You will need this once ESXi is installed to license the server.
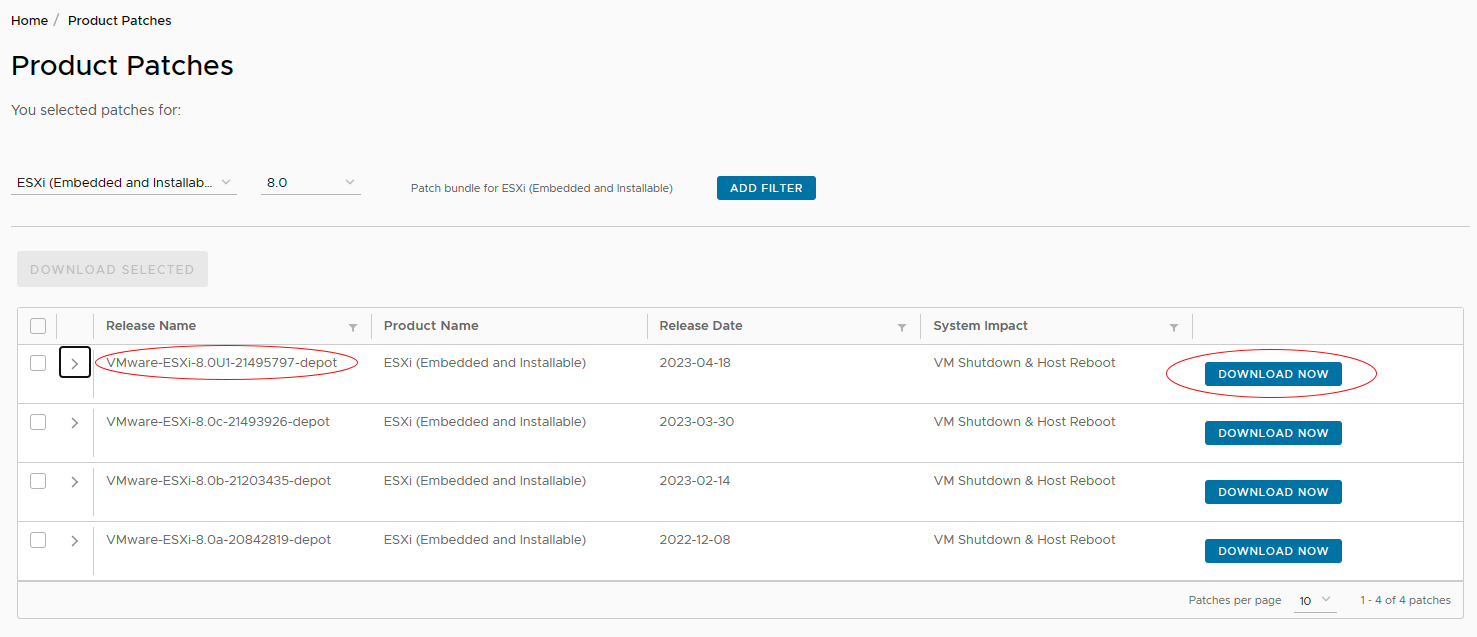
Download the latest offline bundle (depot) ZIP file, from the product patches for ESXi 8, go to
Product Patches.
This link will have the latest images and may be different from the Product Evaluation link in step 2.
You should check this page periodically for updates as well.
Select ESXi (Embedded and Installable) and the version you want in this case you want 8.0
As of this writing ESXi 8.0 update 1 (ESXi-8.0U1) is the latest
Building custom ISO for new install or ZIP file for updates the first few steps are the same. The final step is where you tell ImageBuilder
what type of image to build.
In the steps below you will build both the ISO install image and the ZIP update image.
Create a working directory and copy the VMware-ESXi-8.0U1 depot and ESXi800-VMKUSB-NIC-FLING files to that directory.
# Make build directory and change into it
mkdir $HOME/ESXi-8.0U1-build
cd $HOME/ESXi-8.0U1-build

# Copy VMware Depot image and VMKUSB-NIC-FLING to the build directory
cp $HOME/Downloads/VMware-ESXi-8.0U1*.zip .
cp $HOME/Downloads/ESXi80U1-VMKUSB-NIC-FLING*.zip .